

|
|
|
Word users often want to combine two existing font characters to create a third one. Word provides a way to do this, but the first step should be to ascertain whether it is really necessary. Alternatives to superimposing charactersLook for an existing characterMany users don’t look beyond the keyboard in thinking about font characters. If they want, say, ê, they look at the keyboard, see e and ^ and think how they could combine them. Or they may want to insert a “long vowel,” a character with a macron over it, such as ō, and try to figure out how to combine a hyphen with the vowel. This is quite unnecessary! Virtually every font on your computer includes the ê character (and many other accented characters), and many of them include ō as well. So before you try to create a composite character, thoroughly explore the Insert | Symbol dialog (both “(normal text)” and other fonts) to see if the character you want is already available. (In Word 2007 and above, access the Symbol dialog by choosing More Symbols... on the menu you get when you click on Symbol in the Symbols group on the Insert tab of the Ribbon.)
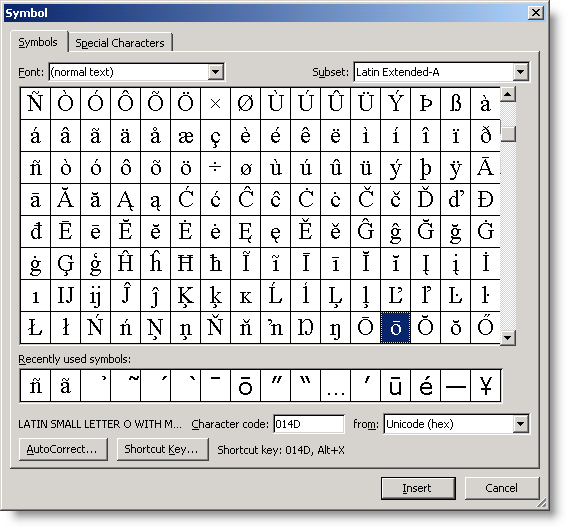
Figure 1. The Symbol dialog showing accented characters Note that the Unicode character set includes many thousands of characters, and no one font contains them all, but one of the largest fonts available to Word is Arial Unicode MS, which at one time was installed along with Microsoft Office. Unfortunately, as detailed here, this font is no longer provided by Microsoft and must be licensed from Monotype. If you have an older version of Office that includes it, you should be able to copy it onto your system. Most accented characters, such as those mentioned above, will be found in the Latin Extended-A, Latin Extended-B, and Latin Extended Additional character subsets. Many other useful symbols can be found in the Letterlike Symbols subset.
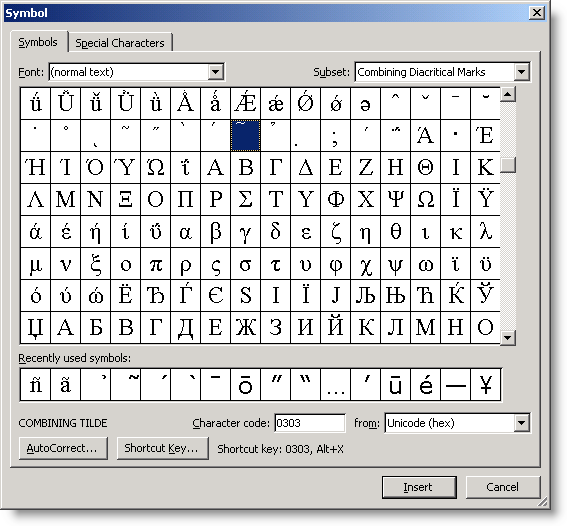
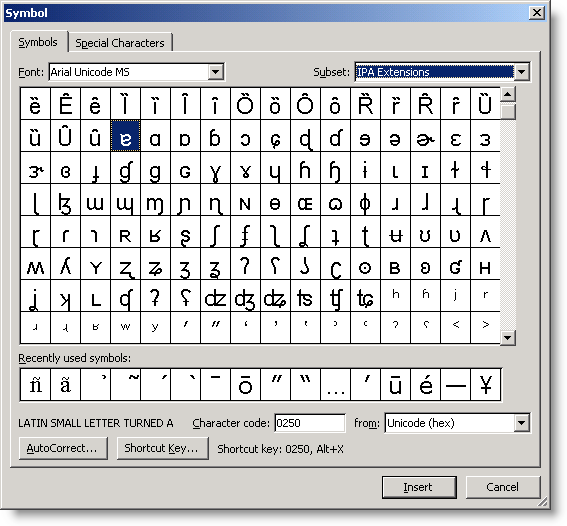
Figure 2: Symbol dialog showing Combining Diacritical Marks character subset Another subset that may be useful is the Combining Diacritical Marks subset. The characters in this subset are designed to combine with whatever character is inserted immediately after them. Run-of-the-mill fonts include combining forms of the grave and acute accents, tilde, hook above, and dot below (Arial Unicode MS includes many more). There is no advantage to using these in preference to combined forms of letters that already have these accents, but they can be useful in combination with letters that don’t normally have them. For example, the font may include ã and ñ, but if you want to put a tilde over some other letter, then you can use the Combining Tilde. Note that ordinarily you must type the combining character first, then the diacritical mark from the Symbol dialog. Look for an existing fontIf the character you want is commonly used in mathematics or science, or if it is a common symbol or “dingbat,” you may be able to find it in the Symbol font, Wingdings, Wingdings 2 or 3, or some other special symbol font. Arial Unicode MS includes an IPA Extensions character subset, but there are also specific IPA fonts containing the required characters for phonetic spelling of words. So look at the fonts you already have installed; if you don’t find the character you need, search online for a likely font.
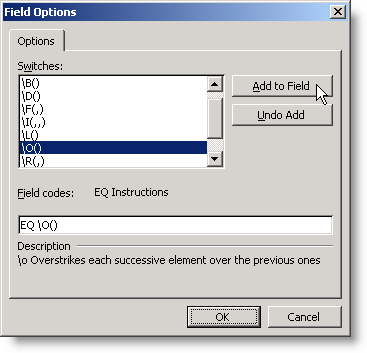
Figure 3. Symbol dialog showing the IPA Extensions character subset If all else fails…If you cannot find the character you need in any font you have installed or can locate, then you may be able to create it by combining two or more existing characters. To do this you will use an EQ \o (Overstrike) field to superimpose characters (this is one of several methods described in the article “How to create a character with a bar over it”). There are several ways to insert such a field and many ways to fine-tune and format it, plus a few “gotchas” we’ll discuss here. Creating an Overstrike fieldElements of the fieldThe basic syntax of the Overstrike field is:
where x and y are the characters you want to superimpose. The field places each successive character on top of the previous one. You can use as many characters as you want; just separate them with commas.
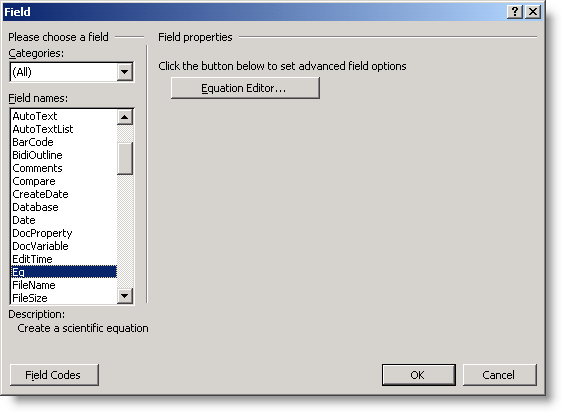
Inserting the fieldThere are basically two ways to insert an EQ (or any other) field in Word: Through Word’s Field dialog
Figure 4. Field dialog with Eq field selected.
Figure 5. EQ field Field Options dialog
ManuallyUsing the Field dialog requires a lot of clicking, there is no easy way to insert characters that can’t be typed from the keyboard, and (as we will see later), you’ll need to edit the field by hand, anyway, so it’s usually easier just to insert it manually to begin with.
Formatting the fieldEach character in the field is printed within an invisible character box. Options align the boxes on top of one another. You can use the following options to modify the \o switch.
Note that center alignment is the default; you do not need to use an alignment option if you want the characters centered. Inserting characters in the field is just a rough start. In order to get the proper relationship between the characters, you may need to format one or more of them as raised, lowered, superscript, or subscript (through the Format | Font dialog) or a different font altogether. You can also change the font size and spacing of the individual characters. In fact, you can apply any kind of font formatting to the characters in the field that you might apply to any text anywhere. This may require considerable trial and error, but ultimately you should be able to get the effect you desire. Once you get the desired result, you will probably want to save it as an AutoText entry for ease of reuse. “Gotchas”
Figure 6. Field code showing trailing zero
Caveats about slashed zeroesOne of the most commonly requested combined characters is a slashed zero. The purpose of this character is to distinguish a zero from a capital O. In the early days of computing, it was not unusual for printer-resident fonts to have a slashed zero; this usage was a carryover from handwriting; in some European countries it is still common to put a cross on 7s to distinguish them from 1s and on z’s to distinguish them from 2s. A slashed zero can still be useful in situations where letters and numbers are mixed in such a way that it may not be clear what is what, such as product key codes. Occasionally you will see a suggestion to use Unicode character 00D8. This is not a zero at all but rather a capital O with a stroke; needless to say, it is not satisfactory. Although it is possible to create a slashed zero by using an EQ field to combine a slash and a zero, consider these caveats:
If the slashed zero is needed in isolated instances to represent the appearance of handwritten or legacy computer-printed text, by all means use the EQ field to create it. If the character is needed for actual practical use, it is preferable to look for a font that contains a slashed zero at position 0048 ASCII (Unicode 0030). Such fonts seem to be especially popular with ham radio operators, whose call signs may include both 0 and O. The names and sources of many such fonts can be found by googling for “slashed zero font.” One collection is offered by Proggy Fonts (some of the offered fonts have a zero with a dot in the center rather than a slash). Another overstrike exampleAnother common request is to apply both a superscript and a subscript number in the same position. By far the easiest way to do this is to use the Equation Editor built into Word, which offers templates for placing superscripts and subscripts. Note that an equation object can be formatted as In Line With Text (and this is the default in Word 2000, 2002, and 2003), so there is no very good reason not to use the Equation Editor for this, but it can be done with an EQ field if you insist. Figures 7 and 8 below show the same layout created with Equation Editor and an EQ field, both in 12-point Times New Roman at 200% Zoom.
Figure 7. Superscript and subscript created with Equation Editor
Figure 8. Superscript and subscript created with EQ field Figure 8 was created beginning with the field { EQ \o (2,3)}. To achieve the result seen, the EQ field was first formatted as 10-point Times New Roman (the N remains 12-point). Superscript and subscript formatting were then applied to the 2 and 3 respectively (you can use Format | Font: Superscript/Subscript or the Ctrl+Shift+= and Ctrl+= shortcuts). This gets you most of the way, but it is then necessary to select the 2 and raise it 2 points (Format | Font | Character Spacing: Raised by 2 points) and lower the 3 by 2 points. If you start with a different font size, some trial-and-error experimentation will be required to arrive at the required settings.
This article copyright © 2007, 2008, 2011, 2014, 2023 by Suzanne S. Barnhill. |