

|
|
How to add a command or macro to a toolbarThis article is for Word 2003 and earlier. The techniques described below are not available in Ribbon versions (Word 2007 and above); for those versions, see my article on “Customizing the Quick Access Toolbar.” How toolbars workWord 2003 and earlier ship with a number of built-in toolbars. By default, the Standard and Formatting toolbars are displayed at the top of the Word window.
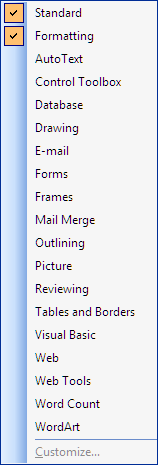
The Standard and Formatting toolbars in Word 2003 Other toolbars are contextual: when you access the header or footer (using View | Header and Footer), the Header and Footer toolbar is displayed; when you select a graphic, the Picture toolbar appears. Similarly, you will see the Outlining toolbar if you switch to Outline view or the Mail Merge toolbar if you are creating a mail merge. You can see a list of the available toolbars using View | Toolbars or by right-clicking on the Menu Bar or any toolbar.
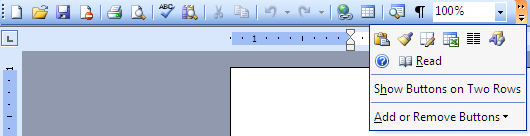
The list of menus in Word 2003 By default, Word 2000, 2002, and 2003 show the Standard and Formatting toolbars on a single row. How this will display on your screen depends on the monitor’s aspect ratio (4:3 or 16:9 or 16:10) and display resolution. On my screen, the Formatting toolbar is shown in its entirety, but several buttons on the Standard toolbar are hidden, as indicated by the two dots on the Toolbar Options button at the right end. Clicking the button opens a flyout gallery showing the hidden buttons and also the option to show the toolbars on two rows, which I recommend.
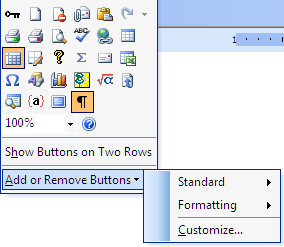
The Standard and Formatting toolbars on a single row The flyout also offers the option to Add or Remove Buttons. Clicking either Standard or Formatting will display a menu listing all the buttons currently displayed (checked) and other buttons that can be added. (This screen shot shows the options if the toolbars are shown on a single row; if they are displayed in two rows, you will get only Standard or Formatting, depending on which toolbar’s Toolbar Options button you clicked.)
The Add or Remove Buttons menu This menu is a good start: it allows you to remove buttons you’re pretty sure you’ll never use and add others that look useful. But it is only a start; Word has hundreds of commands, and every one of them can be added to a toolbar if desired. The third option in that flyout is Customize… which opens the Customize dialog. Other ways to get to it are to:
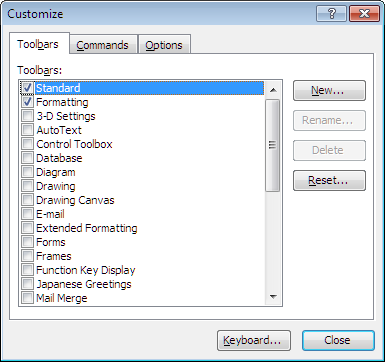
The Customize dialogThe Customize dialog has three tabs. The toolbar to which you want to add a button must be displayed. If you haven’t already displayed it, you can do so by checking the box next to it on the Toolbars tab of the dialog. (This assumes you want to add buttons to an existing toolbar; creation of new toolbars will be discussed below.)
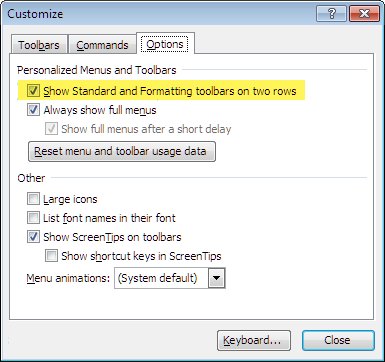
The Toolbars tab of the Customize dialog The Options tab has a number of useful options, most of them not specifically related to toolbars. The option to “Show Standard and Formatting toolbars on two rows” is checked or unchecked depending on the choice you have made using the Toolbar Options flyout, or of course you can also make it here.
The Options tab of the Customize dialog The Commands tab is the one you need if you want to add buttons to a toolbar. You can see that the Categories list reflects the menu structure of Word. But if you scroll down, you will find additional commands that are on various toolbars, as well as AutoText, Styles, Fonts, etc. If you can’t find a command you need in one of the other categories, look in All Commands, which lists every available command. Although they are listed alphabetically, you may have to use some ingenuity to find them because some, such as EditFind, are listed by the menu on which they appear; others, such as DrawCallout, are listed by the toolbar on which they can be found.
The Commands tab of the Customize dialog When you find the command you want, just select it with the mouse, drag it to the toolbar where you want it to appear, and drop it. If the command you selected had an icon, that icon will appear on the button; otherwise, the button will display text. You don’t have to settle for text; you can add a premade icon or design your own, but before we get into that, let’s talk about where you will save your customizations. Customization contextBy default, any customization you make to a toolbar (or any custom toolbar, which we’ll get to in a minute) is saved in the global template, Normal.dot. Because this template is available to all documents (even if a specific document template is attached to the document), your customizations will be available in all documents. But you may want to add customizations (especially a custom toolbar) to just a specific document template or even a specific document or to a different global template.
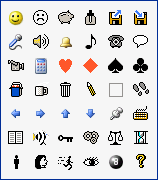
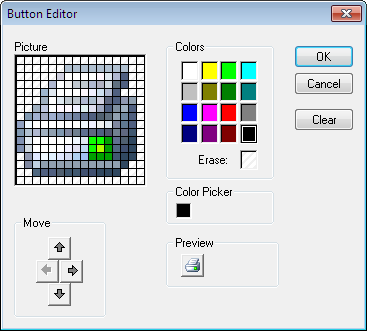
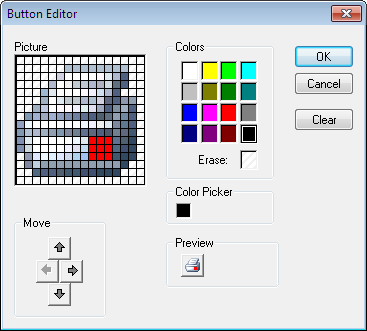
Because the recommended solution to many problems in Word is to rename the Normal template (thus potentially losing customizations), it is often recommended that these customizations be made in another template. If you save that template in Word’s Startup folder, it will be loaded at startup and will be “global” as well, meaning that your customizations will be available to all documents. To save customizations in this global “add-in” template, you must first create and save the template, then open the Customize dialog, select the template in the Save in dropdown, and then make your customizations. Customizing buttonsAs stated, Word’s most-used commands have built-in icons. If you add those buttons to a toolbar, the default icon will be used. If you add a text-only button (or a macro, since all macros have the same icon), there are several ways you can add an icon (or a different icon) instead:
Print and AlternatePrint button images
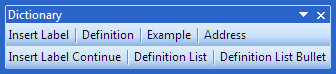
Docked or floating?Any toolbar can be either “docked” (spread out against one side of the Word window) or “floating” (in the open window area). Some toolbars, such as Standard and Formatting are docked by default, others, such as the Picture, Tables and Borders, and Header and Footer toolbars, by default float. The vertical row of four dots at the left end of a docked toolbar is its “handle.” Click on that and you can drag the toolbar into the window area. Conversely, click on the title bar of any floating toolbar, and you can drag it to any side of the screen and “dock” it. Some toolbars, such as the Formatting toolbar with its dropdown Style and Font menus, are not suitable to be docked at the side, but others could be. I like to dock the Header and Footer toolbar at the bottom of the screen. This is entirely up to you, and you can change the location of any toolbar at any time. If you have empty space to the right of a toolbar docked at the top or bottom of the screen, you may be able to fit in another short toolbar in the space; for example, the Acrobat PDFMaker toolbar has only three buttons, so it will fit almost anywhere. Making spaceFloating toolbars will often show buttons on several rows, and they can be resized to have more or fewer rows to better group the buttons (see the Dictionary toolbar shown below). You may notice that buttons on the Standard and Formatting toolbars are separated into groups by spacers: faint vertical lines. To create a spacer between two buttons, with the Customize dialog open, just drag one button slightly to the right. Creating a new toolbarThere may be styles or commands that you use only with specific types of documents. You could add these buttons to one of the built-in toolbars in the template you use for these documents, but sometimes it is more helpful to create a custom toolbar. As an example, I have a template that I use to create manuscripts for Barron’s Dictionary of Real Estate Terms and similar dictionaries. To simplify the task, I have created a floating toolbar that puts the most-used styles at my fingertips. I also have keyboard shortcuts (also saved in Dictionary.dot) that I use for several character styles used in the manuscripts.
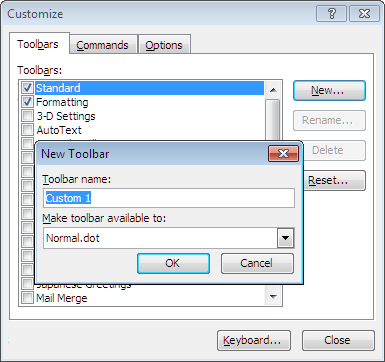
My Dictionary toolbar To create a new toolbar:
Related articlesHow to add a command or macro to a menu (Word 2003 and earlier) How to add a command or macro to the Quick Access Toolbar (Word 2007 and above) How to assign a keyboard shortcut to a command or macro (all versions) This article copyright © 2016 by Suzanne S. Barnhill. |