

|
|
|
This article applies primarily to Word 2007 and above; see also “Display, Use, and Manage Styles in Word” for more detail. Getting control of your document requires systematic use of styles. And getting control of styles requires being able to see what style is applied to a given paragraph. Word 2003 and earlier, by default, displayed the style at the insertion point (a character style, if applied; otherwise the paragraph style) in the Style dropdown on the Formatting toolbar. By default, Word 2007 and above do not display styles this way, but they do offer multiple ways to get information about styles. Quick Styles galleryIf the style applied to a paragraph is defined as a Quick Style, then the button for that style will be selected in the gallery.
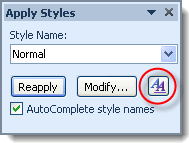
Figure 1. Quick Styles gallery with Heading 1 selected Apply Styles toolbarThe keyboard shortcut Ctrl+Shift+S will open the Apply Styles toolbar. This small floating toolbar can be dragged anywhere on your screen. It displays the current style; applying another style requires using the dropdown. A button also provides access to the Styles task pane (discussed below). The selection of styles displayed in the dropdown will be controlled by the Options setting in the Styles task pane.
Figure 2. The Apply Styles toolbar Styles task paneClicking the dialog launcher in the Styles group on the Home tab opens the Styles task pane (it can also be opened with the keyboard shortcut Alt+Ctrl+Shift+S).
Figure 3. Styles dialog launcher
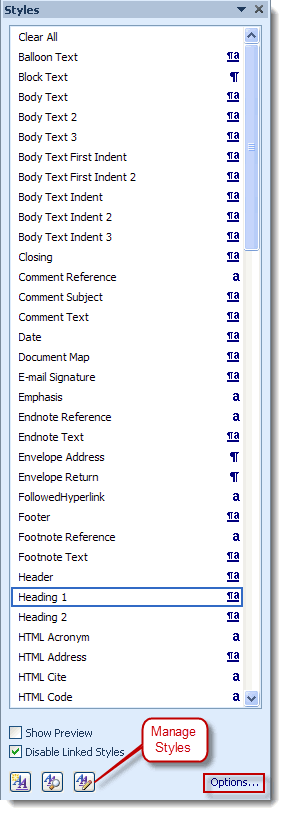
Figure 4. The Styles task pane
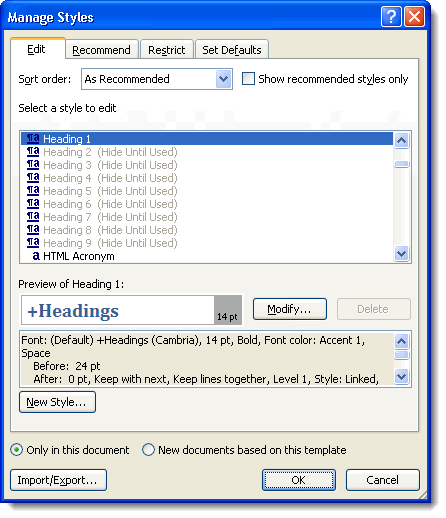
You can choose which styles are displayed by clicking Options… This gives you a choice of “Recommended” (the default), “In use,” “In current document,” and “All styles.” You can also choose to sort the list alphabetically, by recommendation level (priority order), or by other characteristics. Often you will have to choose “All styles” in order to locate a style you want to apply. After you have applied it, it will be displayed even when you have opted to display only the styles “In use” or “In current document.” The number and order of styles displayed in the task pane can be completely customized using the Manage Styles dialog (click the button in the lower left corner of the task pane to open this dialog). There you can set the priority order of styles, which ones are displayed or hidden (or hidden until first use), and other settings.
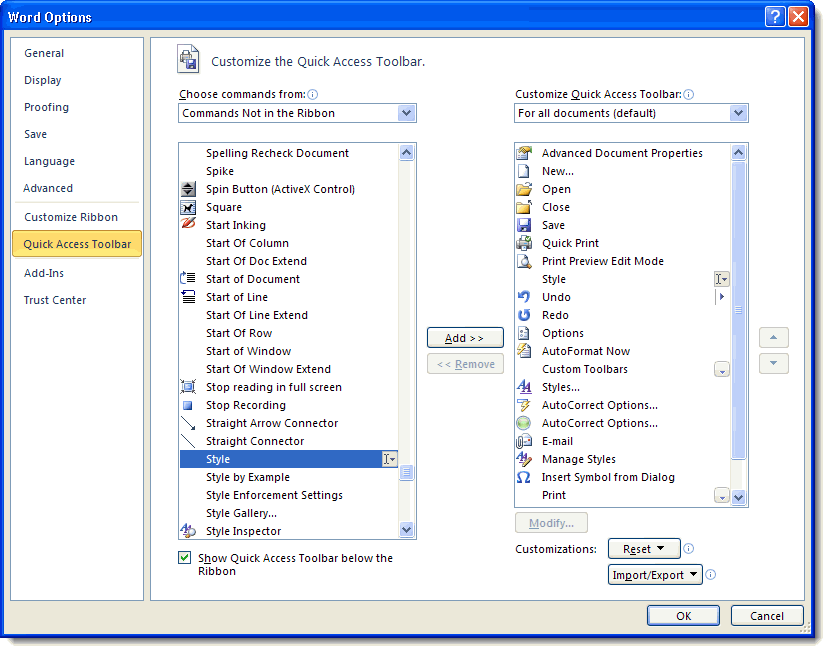
Figure 5. The Manage Styles dialog Classic Style dropdownIf you have upgraded from Word 2003 or earlier, you may find that you miss the classic Style dropdown. You can add this to the Quick Access Toolbar in Word 2007 and above. Right-click on the QAT and choose “Customize Quick Access Toolbar.” In the ensuing dialog, under “Choose commands from,” select “Commands Not in the Ribbon.” Scroll down to Style, which has an icon indicating a dropdown. When you mouse over it, it will be identified as “StyleGalleryClassic.” In the list on the right, select the name of the button to the left of which you want to insert the Style dropdown. Then select Style and click Add, then OK to close the dialog.
Figure 6. Customize the QAT dialog While the Style dropdown on the QAT does display the style at the insertion point, it has two drawbacks.
Style areaAnother technique that allows you to see what styles are applied to multiple paragraphs all at the same time is the style area. In order to display the style area, you must switch to Draft or Outline view. Then go to Office Button | Word Options in Word 2007 or File | Options in Word 2010/2013 and select the Advanced tab. Scroll down to Display, where you will see “Style area pane width in Draft and Outline views.” Set the width to something more than zero, and then click OK to close the dialog. Enabling the style area does not affect the display of your document in Print Layout view, but when you are in Draft or Outline view, you will see a strip on the left side of the screen in which the style names are displayed.
Figure 7. Style area This article copyright © 2012, 2014 by Suzanne S. Barnhill. |