

|
|
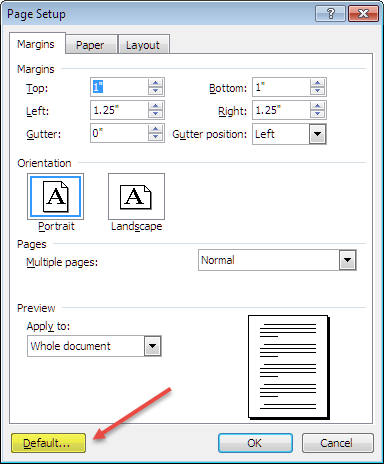
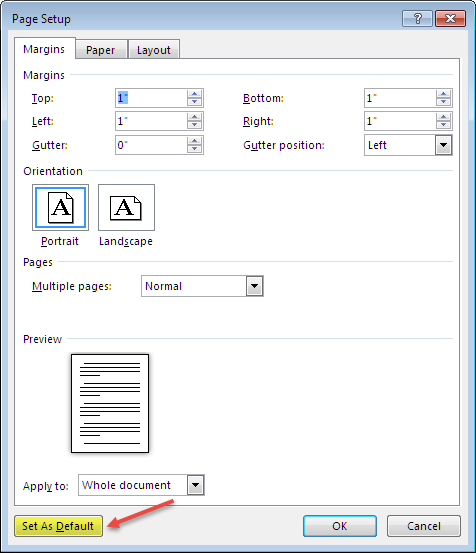
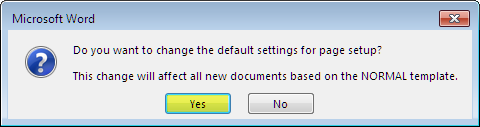
How to change the default settings for new Word documentsChanging default formatting for new documents Changes that are not recommended If you make changes you shouldn’t have Introduction: a template behind every documentWhenever you start Word with a new blank document or create a new document by selecting from the offerings at File | New or Office Button | New, that document is based on a template, a special kind of file that contains instructions for formatting a document, including specifications for the page size and margins, the font style and size, paragraph formatting, etc. When that document is the “Blank document” that Word starts with, or that you can choose from the New dialog or New tab of the Backstage (or create with Ctrl+N), the template is the built-in default template called Normal. The Normal template serves as more than a document template; it is also a “global” template, which means that it stores certain kinds of customizations, including macros, AutoText entries, and (in earlier versions) toolbar and menu customizations. These customizations are available in every document you create, not just those based on the Normal template (that’s why Normal is called “global”). Although all templates, including Normal, contain many styles, the basic style in every template is called Normal. That is the style applied to the default empty paragraph in any new document, and most of the rest of the styles in the document are based on it, so making changes in the Normal style has a ripple effect throughout all the styles. Background: the evolution of the Normal styleIf you look at the formatting of the default Normal style in early versions of Word, you can deduce that Word’s designers assumed that Word would mostly be used to create business letters and reports. The font used was 10-point Times New Roman, a compact font at a size that approximated 12-pitch “Elite” type on a typewriter, which is what early Word users would have been familiar with. To keep lines of small type from being too wide to read easily, the side margins were set at a generous 1.25 inches left and right. Paragraphs were left-aligned (not justified), with no indents, and single-spaced, with no Spacing Before or After. The letter templates used by the Letter Wizard used 13-point Times New Roman, a larger size better suited to shorter documents. You could have any color you liked as long as it was black: most users were assumed to be using monochrome printers, so color was reserved for graphics (pictures, charts, and the like). Although font color could be applied, the default styles were all set to “Automatic” (black on a light background, white on a dark background). In Word 2000, the default font size was increased to 12 points (approximately equivalent to “Pica” type on a typewriter). According to Microsoft, “This change was implemented because many Web browsers use 12pt as their default font size.” This decision, one of many implemented to make Word 2000 more Web-compatible, therefore obviously had nothing to do with what might be most appropriate for printed documents. In all versions of Word from the very beginning through Word 2003, Times New Roman (a serif font) was used as the font for body text and Arial (a sans serif font) for headings. Word users became accustomed to these fonts. Times New Roman was so widely used that it became “invisible”: type any kind of document in TNR and no one would notice the font; it did not call attention to itself. When Word 2007 was introduced, Word users were stunned. In addition to having to learn how to use the new Ribbon in place of toolbars and menus, users were presented with new formatting for the Normal style. Serif and sans serif styles had been swapped. The new default Body font was Calibri (a sans serif font), at 11 points, with Cambria (a serif font) used for Headings. And the headings were blue! To add to the confusion, the paragraph spacing had been set to 1.15 lines, with 10 points Spacing After, giving the appearance (to many users) of double spacing. In Word 2013, even this was changed: Body and Headings fonts were now Calibri and Calibri Light, and paragraph spacing was 1.08 lines, with 8 points spacing after. Even in the earliest versions of Word, it was not unreasonable to want narrower margins or a different font or font size. Fortunately, these were relatively easy to change. More recent versions have added so many bells and whistles that it is not always obvious how to make the changes (sometimes there’s more than one way). This article will describe how to change page, paragraph, and font formatting in Word versions 2003 (and earlier), 2007, 2010, and 2013. Instructions for Word 2013 are all applicable to Word 2016. Changing default formatting for new documentsThere are basically two ways to change the formatting for all new documents. One is to create a template using your desired settings and base new documents on that template. This method is recommended for specific types of documents: reports, for example, in which you always want to have a specific header or footer or cover page, or letters, where you may want to include a letterhead. But if you want to change the basic formatting for a new Blank Document (what you get when you start Word), then you need to customize the Normal template. There are several ways to do this, some of them quite simple, but there are significant differences between versions, so you should find the version you have in the discussion below and follow those instructions. Word 2003 and earlierChanging default page formattingAll of the settings for page-level formatting of a document or section (except columns) are found in Word’s Page Setup dialog. In Word 2003, you can open this dialog by selecting Page Setup… on the File menu. An easier way to access the dialog, if you have the horizontal ruler displayed, is to double-click at the top of the ruler. By default, the Page Setup dialog first opens to the Margins tab, shown below.
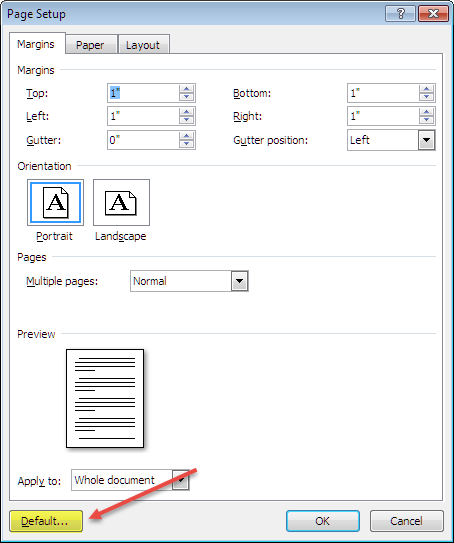
Word 2003 Page Setup dialog showing the Margins tab The Paper and Layout tabs also present settings you may want to change (the paper size, for example). But if all you want to do is change the default margins, here’s how to do it.
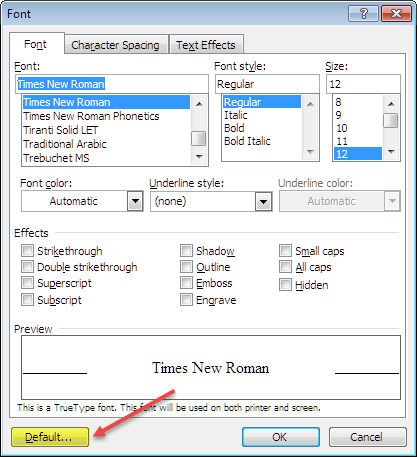
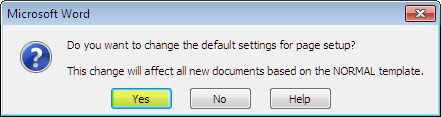
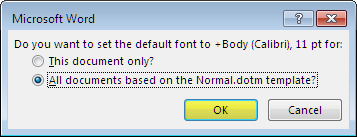
Word 2003 Page Setup default message box Changing default font formattingChanging the default font changes the font used by the Normal style and all styles based on Normal for which another font is not specified. The default body font in Word 2003 is Times New Roman, so changing the default font will change the font of all styles that use that font. Arial is used for headings in Word 2003, so the heading font will not change unless you change it explicitly. To change the default font:
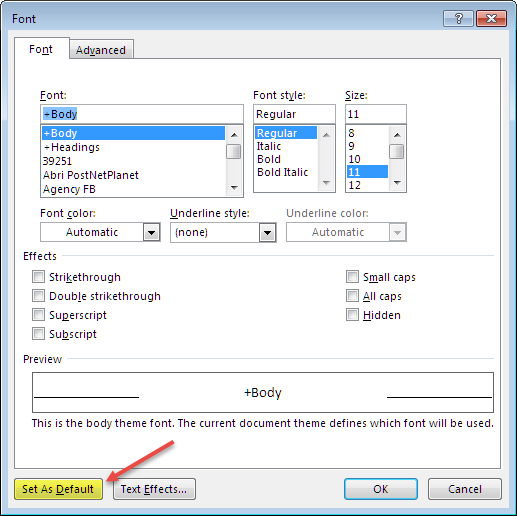
Word 2003 Font dialog showing Default... button
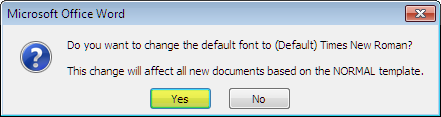
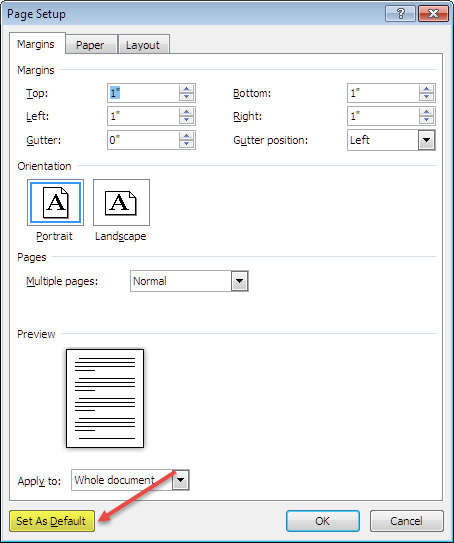
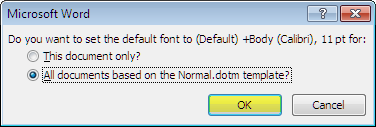
Word 2003 Font default message box Changing default paragraph formattingWhen you change the default font using the Default... button as described above, you are changing the font for the Normal style. There is not a Default... button in the Paragraph dialog. Instead, you would have to change the paragraph formatting of the Normal style. Because so many other styles are based on it, however, it is not advisable to make changes in the paragraph formatting of the Normal style. If you make Normal justified or double-spaced, for example, or give it some Spacing Before or After or a first-line indent, this change may trickle down to other styles (see “How styles in Word cascade”). Changing other stylesYou may, however, want to change the formatting of other styles in Word. For example, there are many good reasons for using Word’s built-in Heading styles (see “Ten reasons to use Word's built-in Heading styles”), but many users avoid them because they don’t like the formatting. Luckily, this is easy to change! Word MVP Shauna Kelly gives step-by-step instructions for doing this in her article “How to modify a style in Word.” As she explains, if you want your modified style to be the default for all new documents, you should check the “Add to template” box in the Modify Style dialog, and the change will be saved to Normal.dot. Word 2007Changing default page formattingAll of the settings for page-level formatting of a document or section (except columns) are found in Word’s Page Setup dialog. In Word 2007, you can open this dialog by clicking the dialog launcher (small arrow) in the bottom right corner of the Page Setup group on the Page Layout tab. An easier way to access the dialog, if you have the horizontal ruler displayed, is to double-click at the top of the ruler. By default, the Page Setup dialog first opens to the Margins tab, shown below.
Word 2007 Page Setup dialog showing the Margins tab The Paper and Layout tabs also present settings you may want to change (the paper size, for example). But if all you want to do is change the default margins, here’s how to do it.
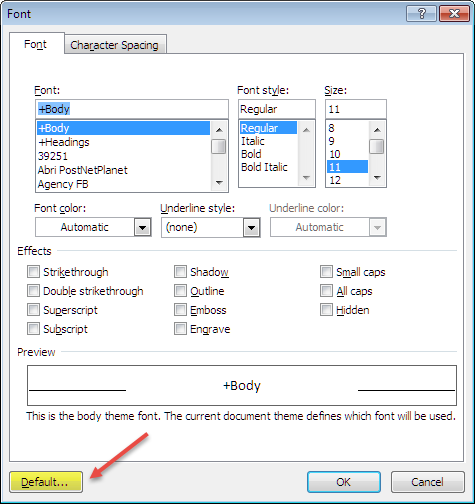
Word 2007 Page Setup default message box Changing default font formattingChanging the default font changes the font used by the Normal style and all styles based on Normal for which another font is not specified. The default body font in Word 2007 is Calibri, so changing the default font will change the font of all styles that use that font. Cambria is used for headings in Word 2007, so the heading font will not change unless you change it explicitly. To change the default font:
Word 2007 Font dialog showing Default... button
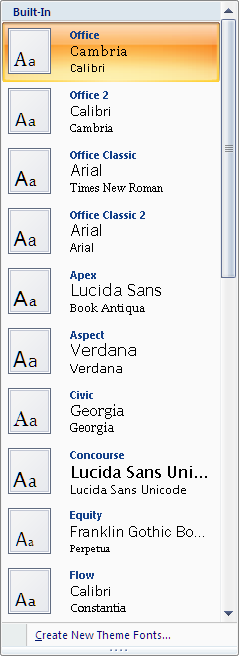
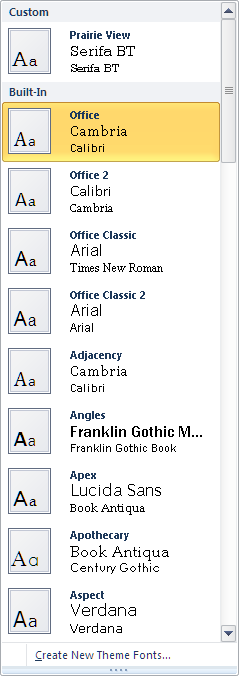
Word 2007 Font default message box To change the font theme: You will notice that by default the font of the Normal style (the default font) is set to +Body. This means that all styles that are identified as +Body will use the font specified for +Body in a given theme. The default Office theme uses Calibri for +Body and Cambria for +Headings. If you apply a different theme, the fonts will change accordingly (you can see this effect by applying different themes from Page Layout | Themes | Themes). If you specify a font for the Normal style, then changing themes will have no effect on the font (though the font color may change). If you prefer to use Times New Roman for body text and Arial for headings (as in previous versions), you can apply the Office Classic theme. Access these themes via Home | Styles | Change Styles | Fonts or via Page Layout | Themes | Fonts.
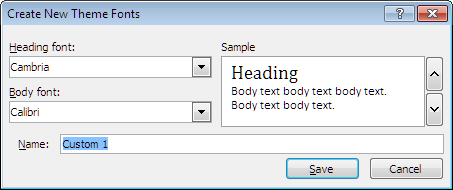
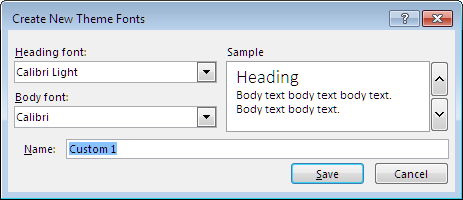
Word 2007 font themes You can also specify fonts for body and headings by creating a new font theme. On the menu accessed via Home | Styles | Change Styles | Fonts or via Page Layout | Themes | Fonts, select Create New Theme Fonts… and select your desired fonts for body text and headings.
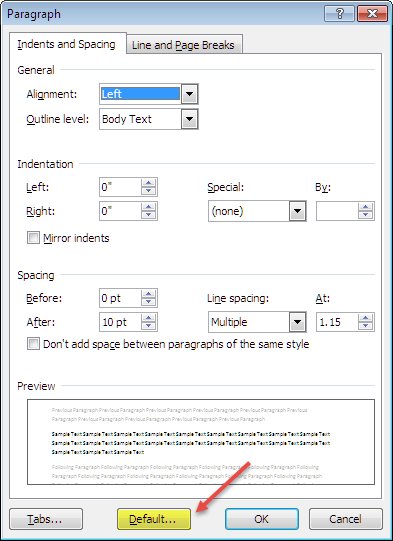
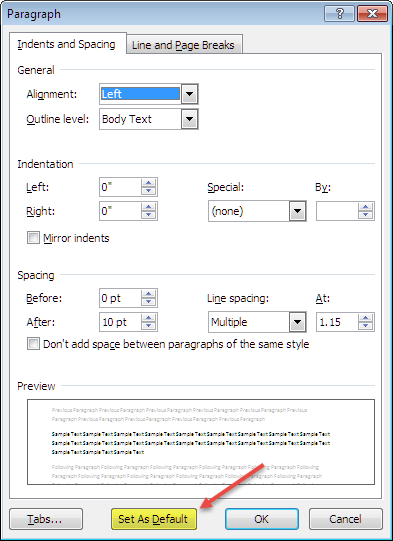
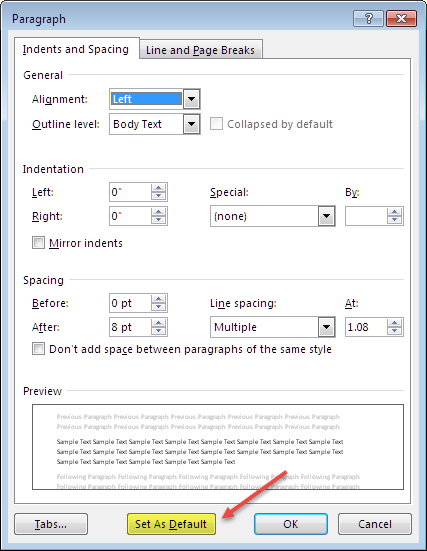
Create New Theme Fonts dialog in Word 2007 When you have selected or created the font theme you prefer, click Set as Default at Home | Styles | Change Styles. Changing default paragraph formattingWhen you change the default font, you are changing the font for the Normal style. Because so many other styles are based on it, it is not advisable to make any other changes in the Normal style. If you make Normal justified, for example, or give it some Spacing Before or After or a first-line indent, this change may trickle down to other styles (see “How styles in Word cascade”). In Word 2007, however, the Normal style already has multiple line spacing (1.15 lines) and Spacing After (10 points). If you want Normal and the other styles based on it to be single-spaced and have no Spacing After unless you specify it, then you may indeed want to change the default formatting of the Normal style. This is done the same for paragraph formatting as for margins and font formatting:
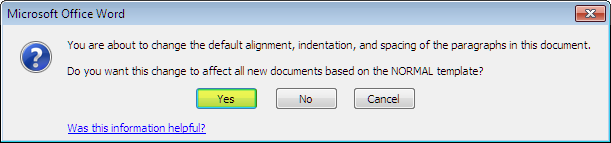
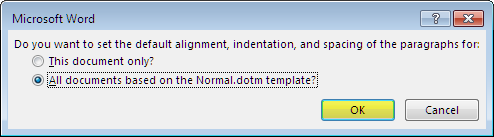
Word 2007 Paragraph dialog
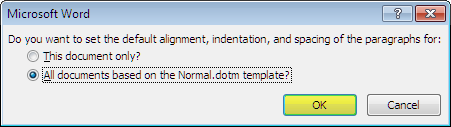
Word 2007 Paragraph default message box
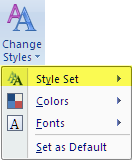
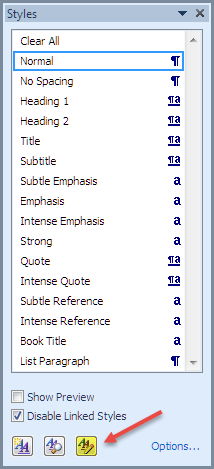
Changing other stylesYou may also want to change the formatting of other styles in Word. For example, there are many good reasons for using Word’s built-in Heading styles (see “Ten reasons to use Word's built-in Heading styles”), but many users avoid them because they don’t like the formatting. Luckily, this is easy to change! Word MVP Shauna Kelly gives step-by-step instructions for doing this in her article “How to modify a style in Word.” As she explains, if you want your modified style to be the default for all new documents, you should select the radio button for “New documents based on this template” so the change will be saved to Normal.dotm. You can also experiment with changing the style set via Home | Styles | Change Styles | Style Set to see if there is another style set you prefer. When you have selected the style set you prefer, click Set as Default at Home | Styles | Change Styles.
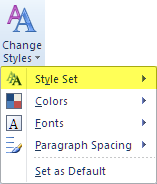
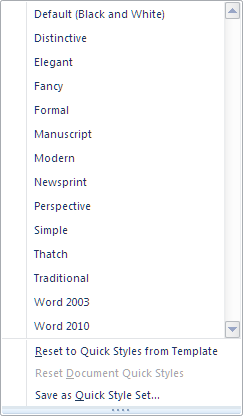
Change Styles button and Style Set menu in Word 2007
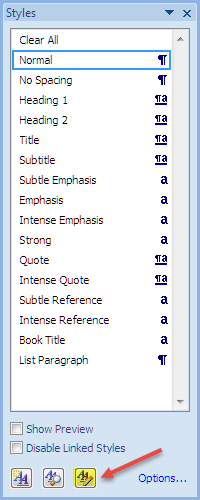
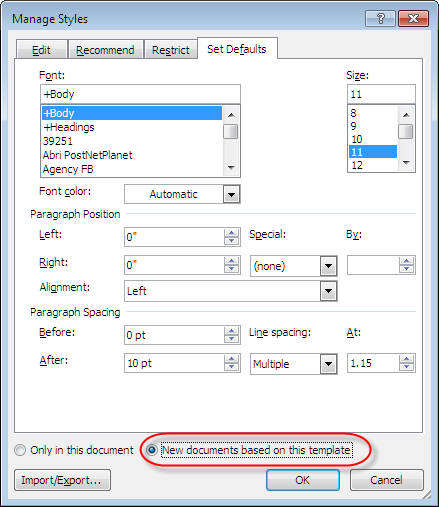
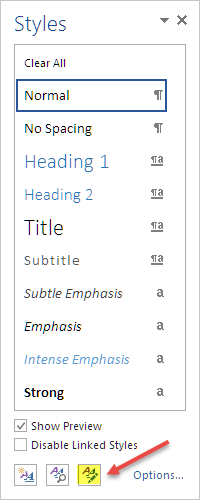
Changing document defaultsYou can change both font and paragraph formatting at the same time using the document defaults.
Word 2007 Styles pane showing Manage Styles button
Set Defaults tab of Manage Styles dialog in Word 2007
Word 2010Changing default page formattingAll of the settings for page-level formatting of a document or section (except columns) are found in Word’s Page Setup dialog. In Word 2010, you can open this dialog by clicking the dialog launcher (small arrow) in the bottom right corner of the Page Setup group on the Page Layout tab. An easier way to access the dialog, if you have the horizontal ruler displayed, is to double-click at the top of the ruler. By default, the Page Setup dialog first opens to the Margins tab, shown below.
Word 2010 Page Setup dialog showing the Margins tab The Paper and Layout tabs also present settings you may want to change (the paper size, for example). But if all you want to do is change the default margins, here’s how to do it.
Word 2010 Page Setup default message box Changing default font formattingChanging the default font changes the font used by the Normal style and all styles based on Normal for which another font is not specified. The default body font in Word 2010 is Calibri, so changing the default font will change the font of all styles that use that font. Cambria is used for headings in Word 2010, so the heading font will not change unless you change it explicitly. To change the default font:
Word 2010 Font dialog
Word 2010 Font default message box To change the font theme: You will notice that by default the font of the Normal style (the default font) is set to +Body. This means that all styles that are identified as +Body will use the font specified for +Body in a given theme. The default Office theme uses Calibri for +Body and Cambria for +Headings. If you apply a different theme, the fonts will change accordingly (you can see this effect by applying different themes from Page Layout | Themes | Themes). If you specify a font for the Normal style, then changing themes will have no effect on the font (though the font color will change). If you prefer to use Times New Roman for body text and Arial for headings (as in Word 2003 and earlier), you can apply the Office Classic theme. Access these themes via Home | Styles | Change Styles | Fonts or via Page Layout | Themes | Fonts.
Word 2010 font themes You can also specify fonts for body and headings by creating a new font theme. On the menu accessed via Home | Styles | Change Styles | Fonts or via Page Layout | Themes | Fonts, select Create New Theme Fonts… and select your desired fonts for body text and headings. (The screen shot above shows a custom font theme I created for a client.)
Create New Theme Fonts dialog in Word 2010 When you have selected or created the font theme you prefer, click Set as Default at Home | Styles | Change Styles. Changing default paragraph formattingWhen you change the default font, you are changing the font for the Normal style. Because so many other styles are based on it, it is not advisable to make any other changes in the Normal style. If you make Normal justified, for example, or give it some Spacing Before or After or a first-line indent, this change may trickle down to other styles (see “How styles in Word cascade”). In Word 2010, however, the Normal style already has multiple line spacing (1.15 lines) and Spacing After (10 points). If you want Normal and the other styles based on it to be single-spaced and have no Spacing After unless you specify it, then you may indeed want to change the default formatting of the Normal style. This is done the same for paragraph formatting as for margins and font formatting:
Word 2010 Paragraph dialog
Word 2010 Paragraph default message box
Changing other stylesYou may also want to change the formatting of other styles in Word. For example, there are many good reasons for using Word’s built-in Heading styles (see “Ten reasons to use Word's built-in Heading styles”), but many users avoid them because they don’t like the formatting. Luckily, this is easy to change! Word MVP Shauna Kelly gives step-by-step instructions for doing this in her article “How to modify a style in Word.” As she explains, if you want your modified style to be the default for all new documents, you should select the radio button for “New documents based on this template” so the change will be saved to Normal.dotm. You can also experiment with changing the style set via Home | Styles | Change Styles | Style Set to see if there is another style set you prefer. When you have selected the style set you prefer, click Set as Default at Home | Styles | Change Styles.
Change Styles button and Style Set menu in Word 2010 Changing document defaultsYou can change both font and paragraph formatting at the same time using the document defaults.
Word 2010 Styles pane showing Manage Styles button
Set Defaults tab of Manage Styles dialog in Word 2010
Word 2013 and aboveChanging default page formattingAll of the settings for page-level formatting of a document or section (except columns) are found in Word’s Page Setup dialog. In Word 2013/2016, you can open this dialog by clicking the dialog launcher (small arrow) in the bottom right corner of the Page Setup group on the Page Layout tab. An easier way to access the dialog, if you have the horizontal ruler displayed, is to double-click at the top of the ruler. By default, the Page Setup dialog first opens to the Margins tab, shown below.
Word 2013 Page Setup dialog showing the Margins tab The Paper and Layout tabs also present settings you may want to change (the paper size, for example). But if all you want to do is change the default margins, here’s how to do it.
Word 2013 Page Setup default message box Changing default font formattingChanging the default font changes the font used by the Normal style and all styles based on Normal for which another font is not specified. The default body font in Word 2013/2016 is Calibri, so changing the default font will change the font of all styles that use that font. Calibri Light is used for headings in Word 2013/2016, so the heading font will not change unless you change it explicitly. To change the default font:
Word 2013 Font dialog
Word 2013 Font default message box To change the font theme: You will notice that by default the font of the Normal style (the default font) is set to +Body. This means that all styles that are identified as +Body will use the font specified for +Body in a given theme. The default Office theme uses Calibri for +Body and Calibri Light for +Headings. If you apply a different theme, the fonts will change accordingly (you can see this effect by applying different themes from Design | Document Formatting | Themes). If you specify a font for the Normal style, then changing themes will have no effect on the font (though the font color will change). If you prefer to use Calibri for body text and Cambria for headings (as in previous versions), you can apply the Office 2007–2010 theme. If you want Times New Roman for body text and Arial for headings (as in Word 2003 and earlier), you can apply the Arial–Times New Roman theme (the themes aren’t listed alphabetically, so you’ll have to scroll down for that one). Access these themes via Design | Document Formatting | Fonts.
Word 2013 font themes
You can also specify fonts for body and headings by creating a new font theme. On the menu accessed via Design | Document Formatting | Fonts, select Customize Fonts… and select your desired fonts for body text and headings.
Create New Theme Fonts dialog in Word 2013 When you have selected or created the font theme you prefer, click Set as Default at Design | Document Formatting. Changing default paragraph formattingWhen you change the default font, you are changing the font for the Normal style. Because so many other styles are based on it, it is not advisable to make any other changes in the Normal style. If you make Normal justified, for example, or give it some Spacing Before or After or a first-line indent, this change may trickle down to other styles (see “How styles in Word cascade”). In Word 2013, however, the Normal style already has multiple line spacing (1.08 lines) and Spacing After (8 points). If you want Normal and the other styles based on it to be single-spaced and have no Spacing After unless you specify it, then you may indeed want to change the default formatting of the Normal style. This is done the same for paragraph formatting as for margins and font formatting:
Word 2013 Paragraph dialog
Word 2013 Paragraph default message box
Changing other stylesYou may also want to change the formatting of other styles in Word. For example, there are many good reasons for using Word’s built-in Heading styles (see “Ten reasons to use Word's built-in Heading styles”), but many users avoid them because they don’t like the formatting. Luckily, this is easy to change! Word MVP Shauna Kelly gives step-by-step instructions for doing this in her article “How to modify a style in Word.” As she explains, if you want your modified style to be the default for all new documents, you should select the radio button for “New documents based on this template” so the change will be saved to Normal.dotm. You can also experiment with changing the style set via the Quick Style Sets gallery at Design | Document Formatting to see if there is another style set you prefer. When you have selected the style set you prefer, click Set as Default at Design | Document Formatting.
Quick Style Sets gallery in Word 2013 For more on using Quick Style Sets, see this Office Blog entry. Changing document defaultsYou can change both font and paragraph formatting at the same time using the document defaults.
Word 2013 Styles pane showing Manage Styles button
Set Defaults tab of Manage Styles dialog in Word 2013
Other changesThe page, font, and paragraph formatting changes described above can be made from within a Word document. You can also create AutoText entries (building blocks), macros, and styles and save them to the Normal template. Aside from these, most other changes you might want to make in the Normal template would be a bad idea, but there may be times when you will want or need to open the Normal template for editing and make changes directly in the file. The location of the Normal template varies somewhat depending on Word and Windows version, and it is often stored in a folder that Windows is loath to show you. If you need to open and edit it frequently, then you can get a complete rundown here. Regardless of where the Normal template is stored (in any Word/Windows version), there’s a quick way to open it:
This method is useful if for some reason the changes you make to the Normal template (through the Page Setup, Font, Paragraph, Manage Styles, or Modify Style dialogs) are not being saved when you quit Word. If you find that even this doesn’t work (or that you’re not able to even access the VBA Editor), and if you are on a corporate network, then it is time to talk to your IT department; it may be that the company has the Normal template locked down (which is strongly advised against). Changes that are not recommendedBecause the Normal template is the basis for labels as well as ordinary documents, it is strongly recommended that you not add a header or footer (even something as simple as a page number) to the Normal template. This will adversely affect the layout and alignment of labels. Similarly, adding any other elements that you don’t want to have in every single document (a cover page, for example, or any other static text) is not recommended. Even if almost every document you create is a letter, I don’t recommend adding a letterhead, date, salutation, etc. Instead create a template specifically for letters. What you should never doSometimes “helpful” advisors will tell you to change the Normal template or recreate it by creating a new blank document or template and saving it as Normal.dot/Normal.dotm or saving it under another name and then renaming it Normal.dot/Normal.dotm. This will not work. For details, see this Microsoft Knowledge Base article. When Word creates a new Normal template, it automatically adds built-in AutoText entries, it creates the built-in Rich Text (formatted) AutoCorrect entries, such as the J, and it automatically initializes the plain-text AutoCorrect entries found in your *.acl files for your default Language settings. If you create your own Normal.dot, it will not contain the built-in AutoText entries or formatted AutoCorrect entries. You will still be able to use the plain-text AutoCorrect entries but the AutoCorrect dialog box will not perform as expected. The AutoCorrect list will appear empty the first time you open the AutoCorrect dialog box. It takes a second opening to display the plain text AutoCorrect list for your default language, and the formatted AutoCorrect entries will be missing. This behavior will occur each time you start Word.
If you make changes you shouldn’t havePerhaps you have already customized the Normal template in ways you don’t like, such as adding text that you don’t want to appear in every document. Or perhaps you took bad advice and saved a document as the Normal template. In that case, you may want to start over with a fresh copy of the template, generated by Word from its internal defaults. If you rename the Normal template, a fresh, factory-default copy will be generated when you restart Word. For more information on this, see “Why is my ‘Blank Document’ not blank?” Note: I am indebted to Fellow Word MVP Jay Freedman, who read an early draft of this article and provided critical corrections and many helpful suggestions. This article copyright © 2015, 2023 by Suzanne S. Barnhill, based on an earlier article at the Word MVP site. |